How to Repair Block Paving: A Practical Guide for Homeowners
Block paving is a popular choice for driveways, thanks to its durability and aesthetic appeal. However, over time, wear and tear, weather conditions, and general use can cause damage to your block-paved driveway. Fortunately, block paving is relatively easy to repair, ensuring your driveway can be restored to its former glory without the need for a full replacement. For homeowners in Sevenoaks, Kent, maintaining your block paving doesn’t have to be a daunting task. At Sevenoaks Driveways, we provide expert advice and services to help keep your driveway in top condition. Here’s a practical guide on how to repair block paving to ensure longevity and a professional finish.
1. Identify the Issue
The first step in repairing block paving is to assess the extent of the damage. Common problems with block paving include sinking, loose or broken blocks, and the growth of weeds between the joints. By identifying the issue, you can determine the right approach for repair. For minor damage, such as loose or displaced blocks, a simple fix may suffice. However, larger areas of sinking or cracked blocks may require more extensive repair work.
2. Remove the Damaged Blocks
Once you’ve identified the issue, the next step is to remove the damaged or sunken blocks. This can be done using a screwdriver or a specialised block lifting tool to carefully pry the blocks out of position. Be sure to keep the undamaged blocks intact, as they can be reused. If you’re replacing broken blocks, ensure you have matching replacements to maintain a consistent look.
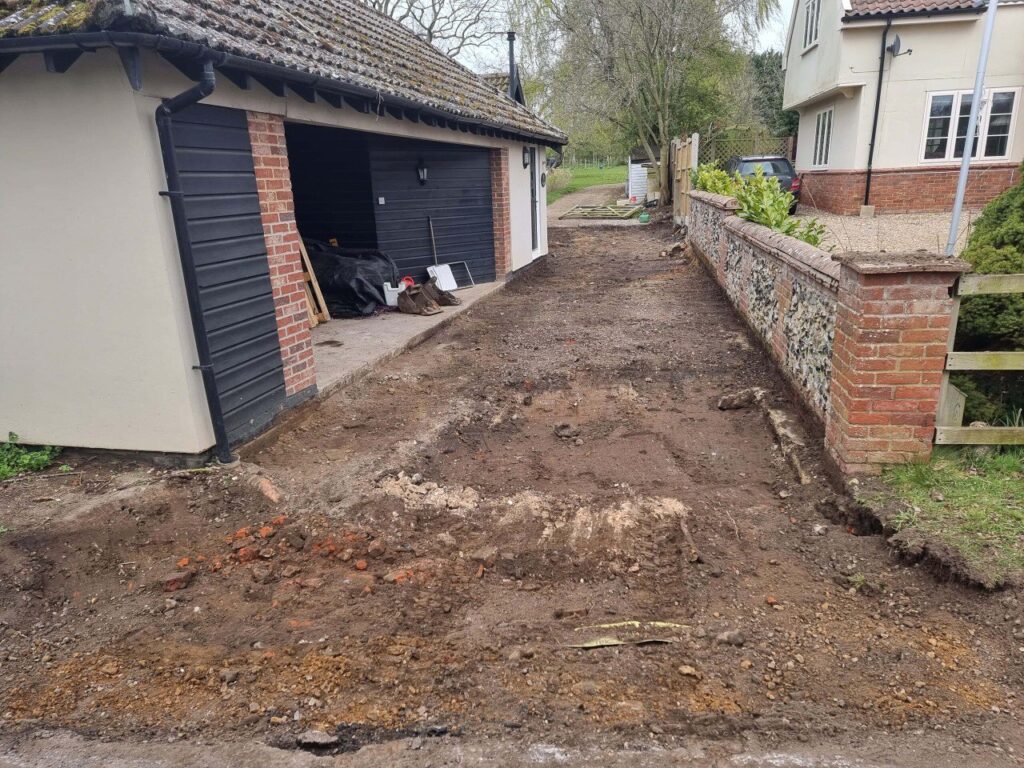
3. Level the Base Layer
One of the main reasons block paving sinks or shifts over time is due to issues with the underlying base layer. After removing the blocks, inspect the sand and sub-base beneath. If the sand has shifted or eroded, this could be the cause of the sinking. Level the base by adding a layer of sharp sand, ensuring it is spread evenly and compacted firmly. A well-compacted base is essential for the long-term stability of the block paving.
4. Re-Lay the Blocks
After levelling the base, it’s time to re-lay the blocks. Start by carefully placing the existing or replacement blocks back into their original pattern. Make sure the blocks sit flush with the surrounding paving and are aligned correctly. You may need to use a rubber mallet to gently tap the blocks into place, ensuring they are level with the surrounding surface.
5. Re-Sand the Joints
The final step in repairing block paving is to re-sand the joints. This is essential for stabilising the blocks and preventing movement. Use kiln-dried sand, as this type of sand is free from moisture and binds the blocks together effectively. Spread the sand across the surface of the repaired area, and sweep it into the joints using a soft broom. Be sure to repeat this process until all the gaps between the blocks are fully filled.
6. Compact the Surface
To ensure the repaired area remains level and stable, use a compactor or a heavy-duty tamper to compact the blocks into place. This will help secure the blocks and prevent further movement. After compacting, check the joints again and add more kiln-dried sand if necessary.
7. Prevent Future Issues
While block paving is durable, proper maintenance is key to preventing future problems. Regularly inspect your driveway for signs of damage or shifting, and address minor issues before they become major problems. Keep the joints between blocks free from weeds by using weed killer or applying a joint stabiliser. Additionally, cleaning your block paving regularly with a pressure washer can help prevent moss and dirt build-up, keeping your driveway looking its best.
Conclusion: Expert Block Paving Repairs from Sevenoaks Driveways
Repairing block paving may seem straightforward, but achieving a professional finish requires attention to detail and the right tools. For homeowners in Sevenoaks, Kent, who prefer to leave repairs to the experts, Sevenoaks Driveways offers high-quality block paving repair services. Whether it’s a minor fix or a complete restoration, our experienced team ensures your driveway is restored to its original condition with minimal disruption.
Call us on: 01732 442 199
Click here to find out more about Sevenoaks Driveways
Click here to complete our contact form and see how we can help with your Driveway needs.